Adding Blow-In Insulation
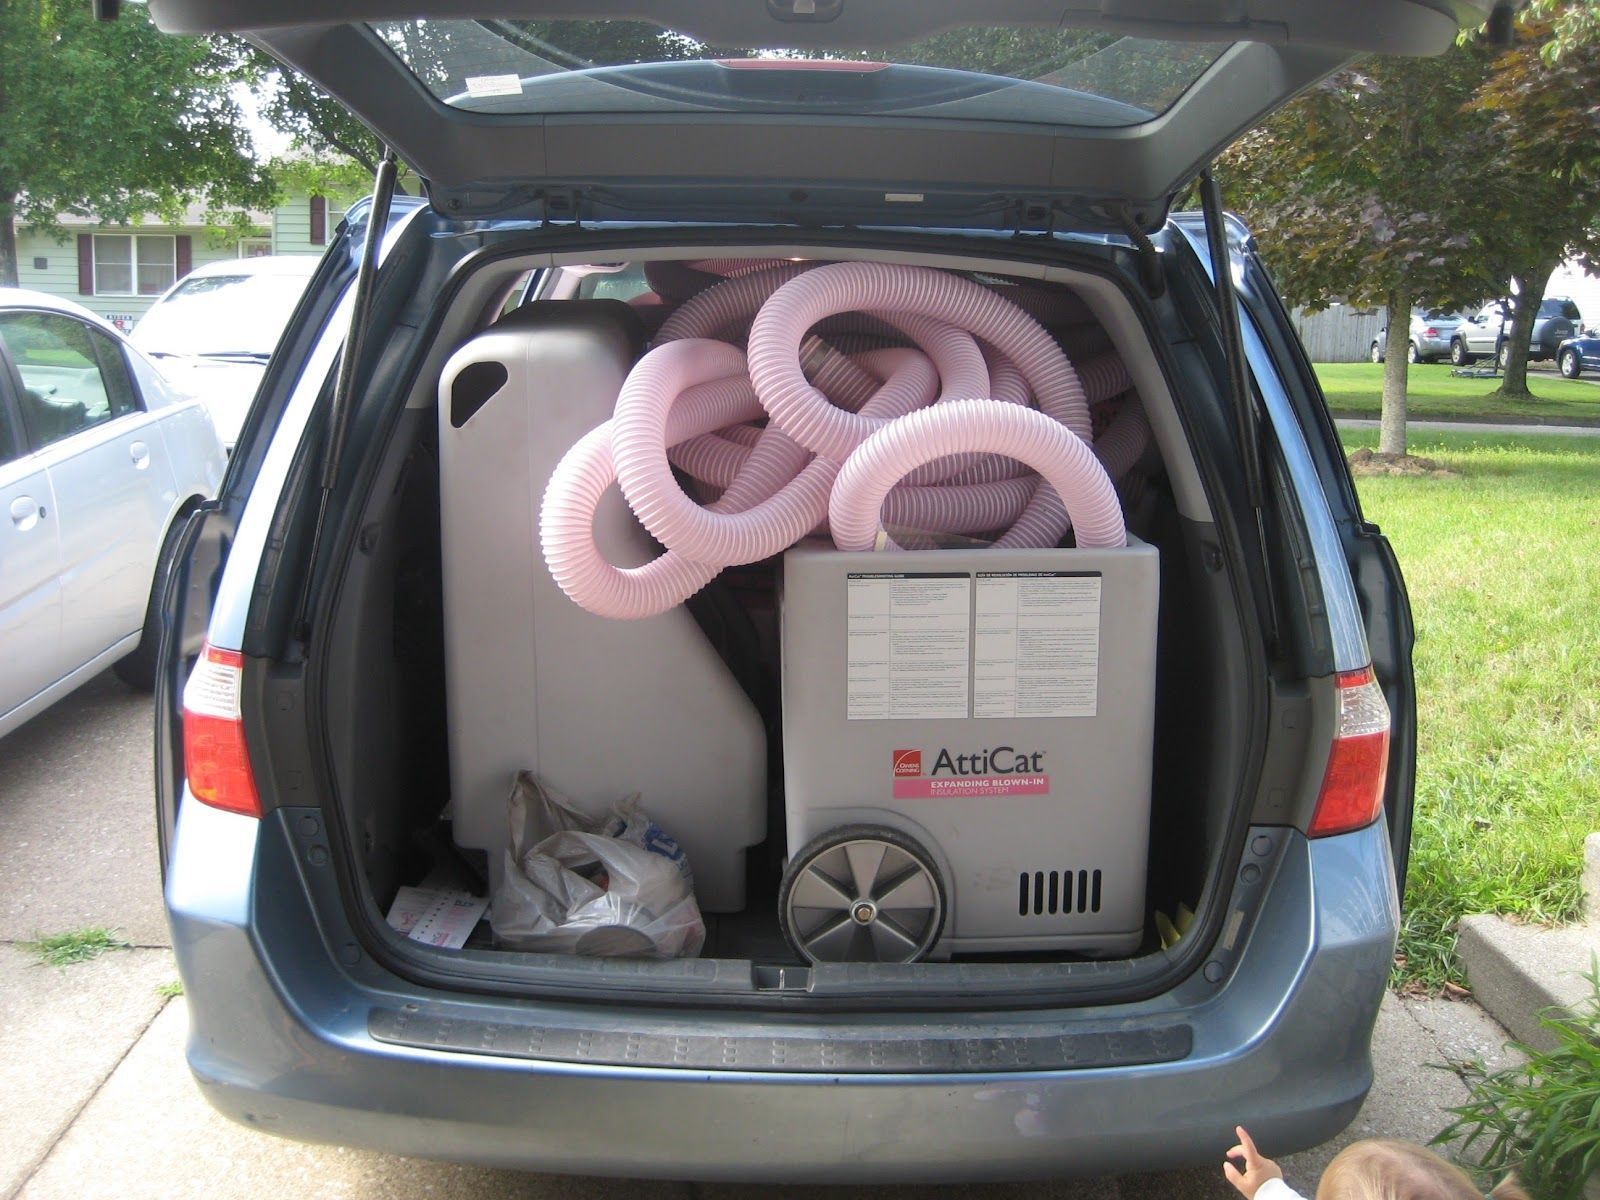
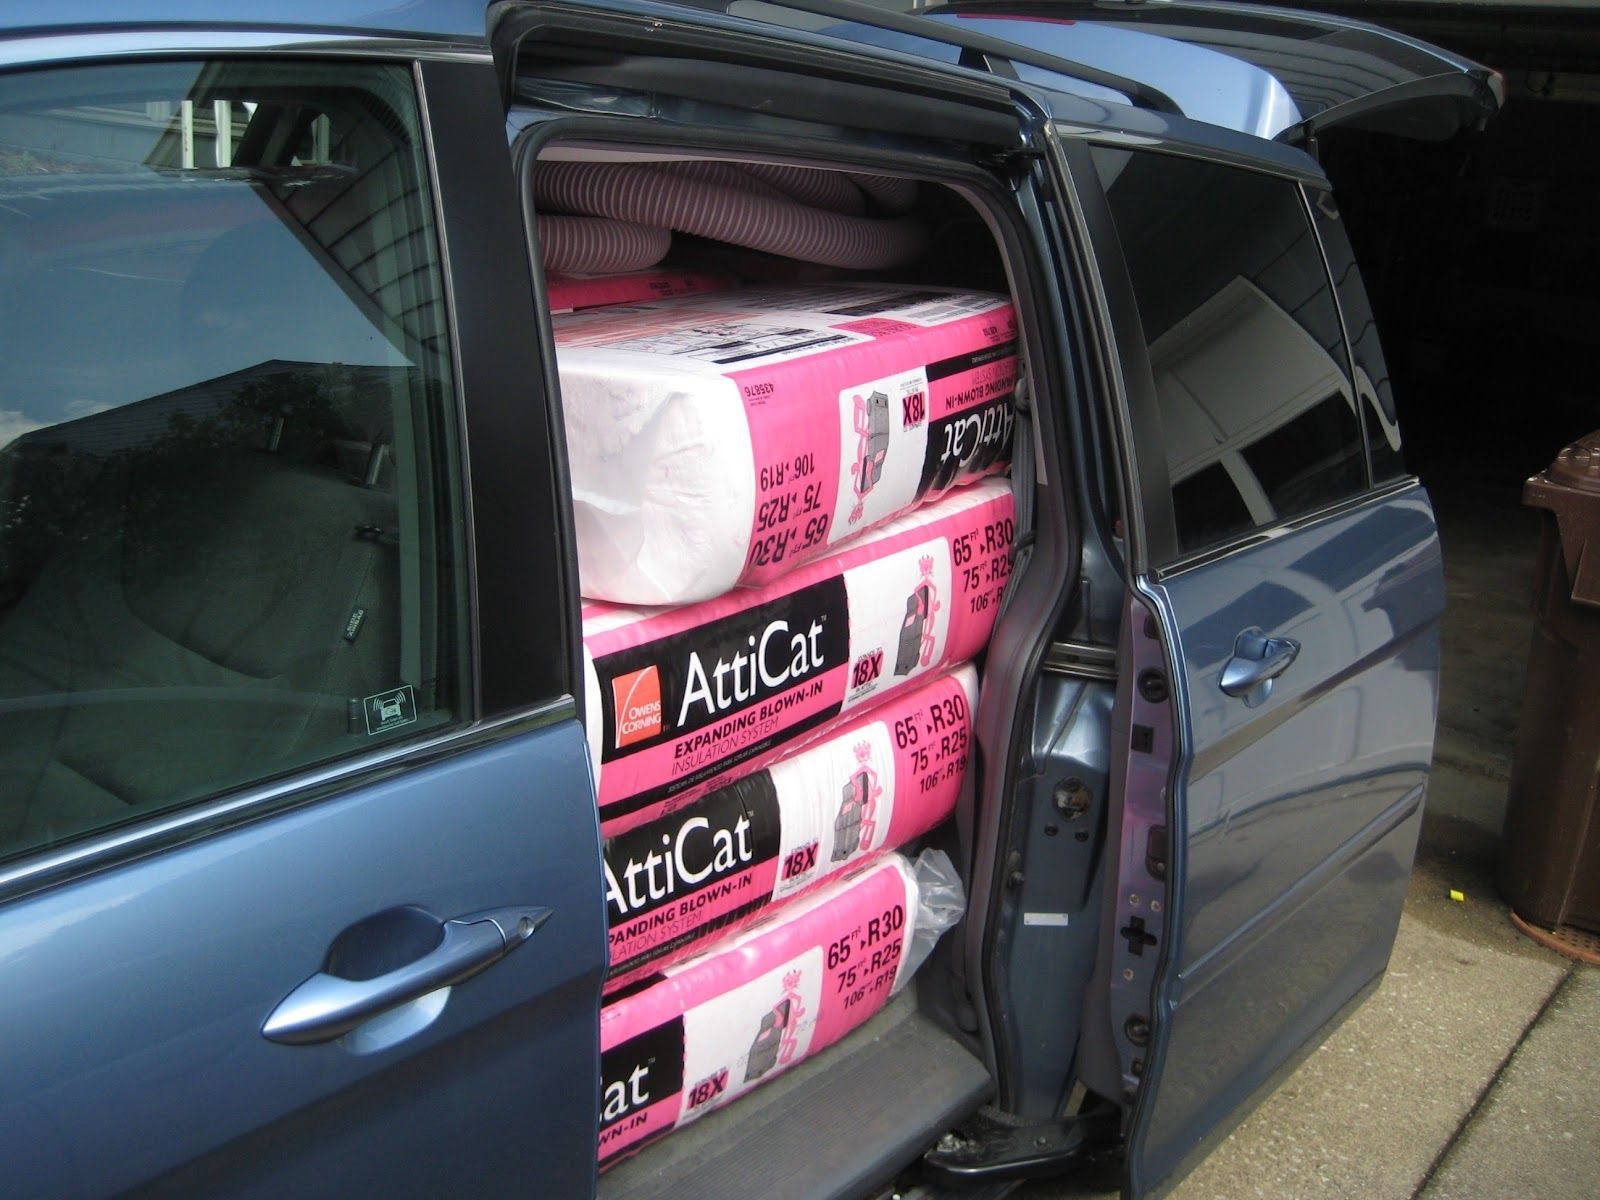
I’d been thinking about adding some insulation to my attic for a while now. This year’s 30% tax credit gave me the final kick I needed to do it. I went to Lowe’s and bought 16 bags of Owens Corning blow in insulation which came with a free 24-hour blower rental. It was a tight fit but I made it in one trip:
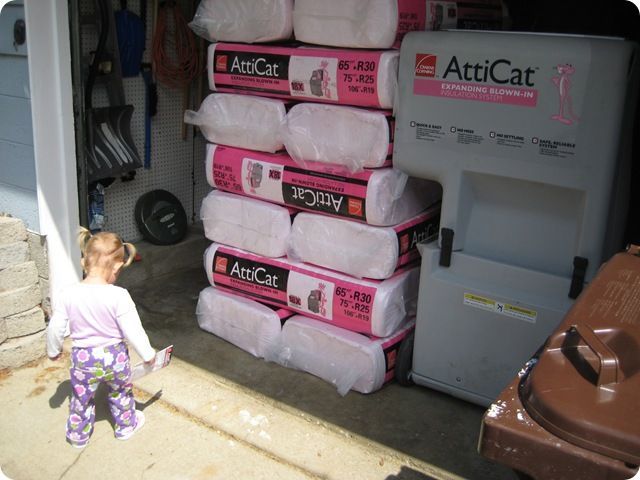
Maya read up on the installation procedure (pamphlet in hand) while I unloaded.
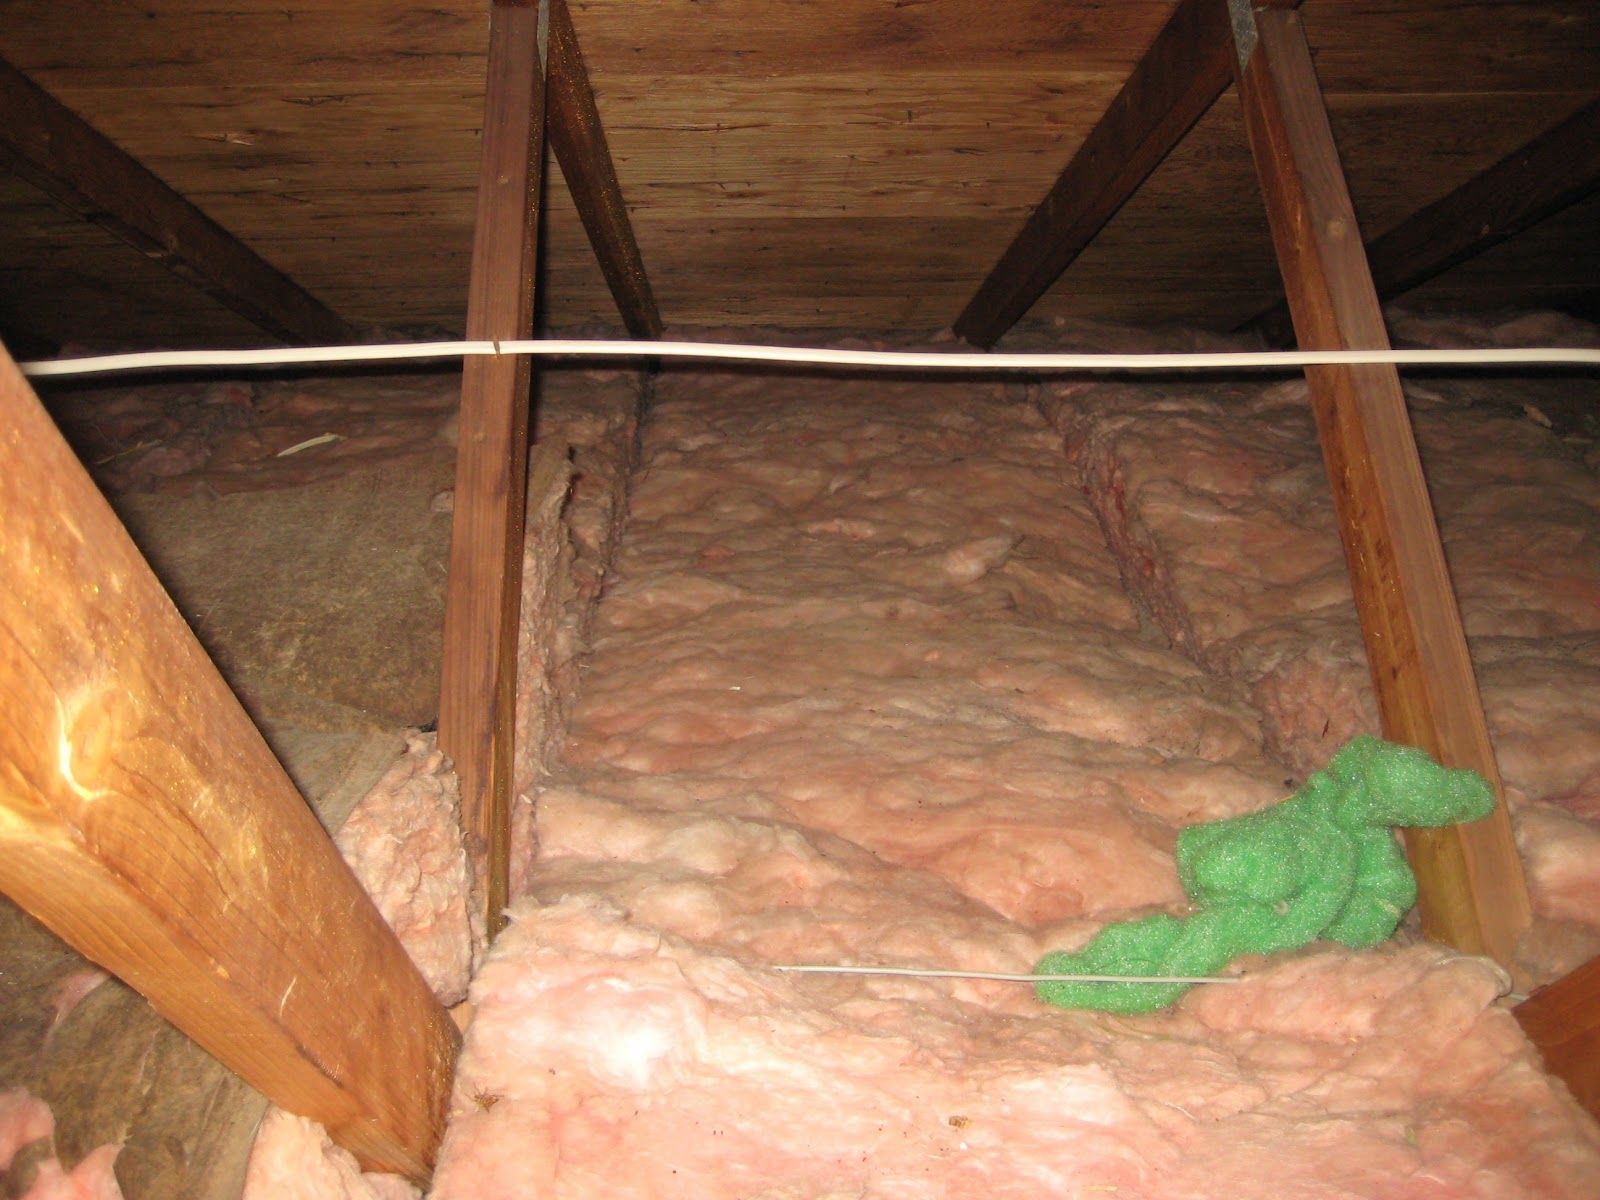
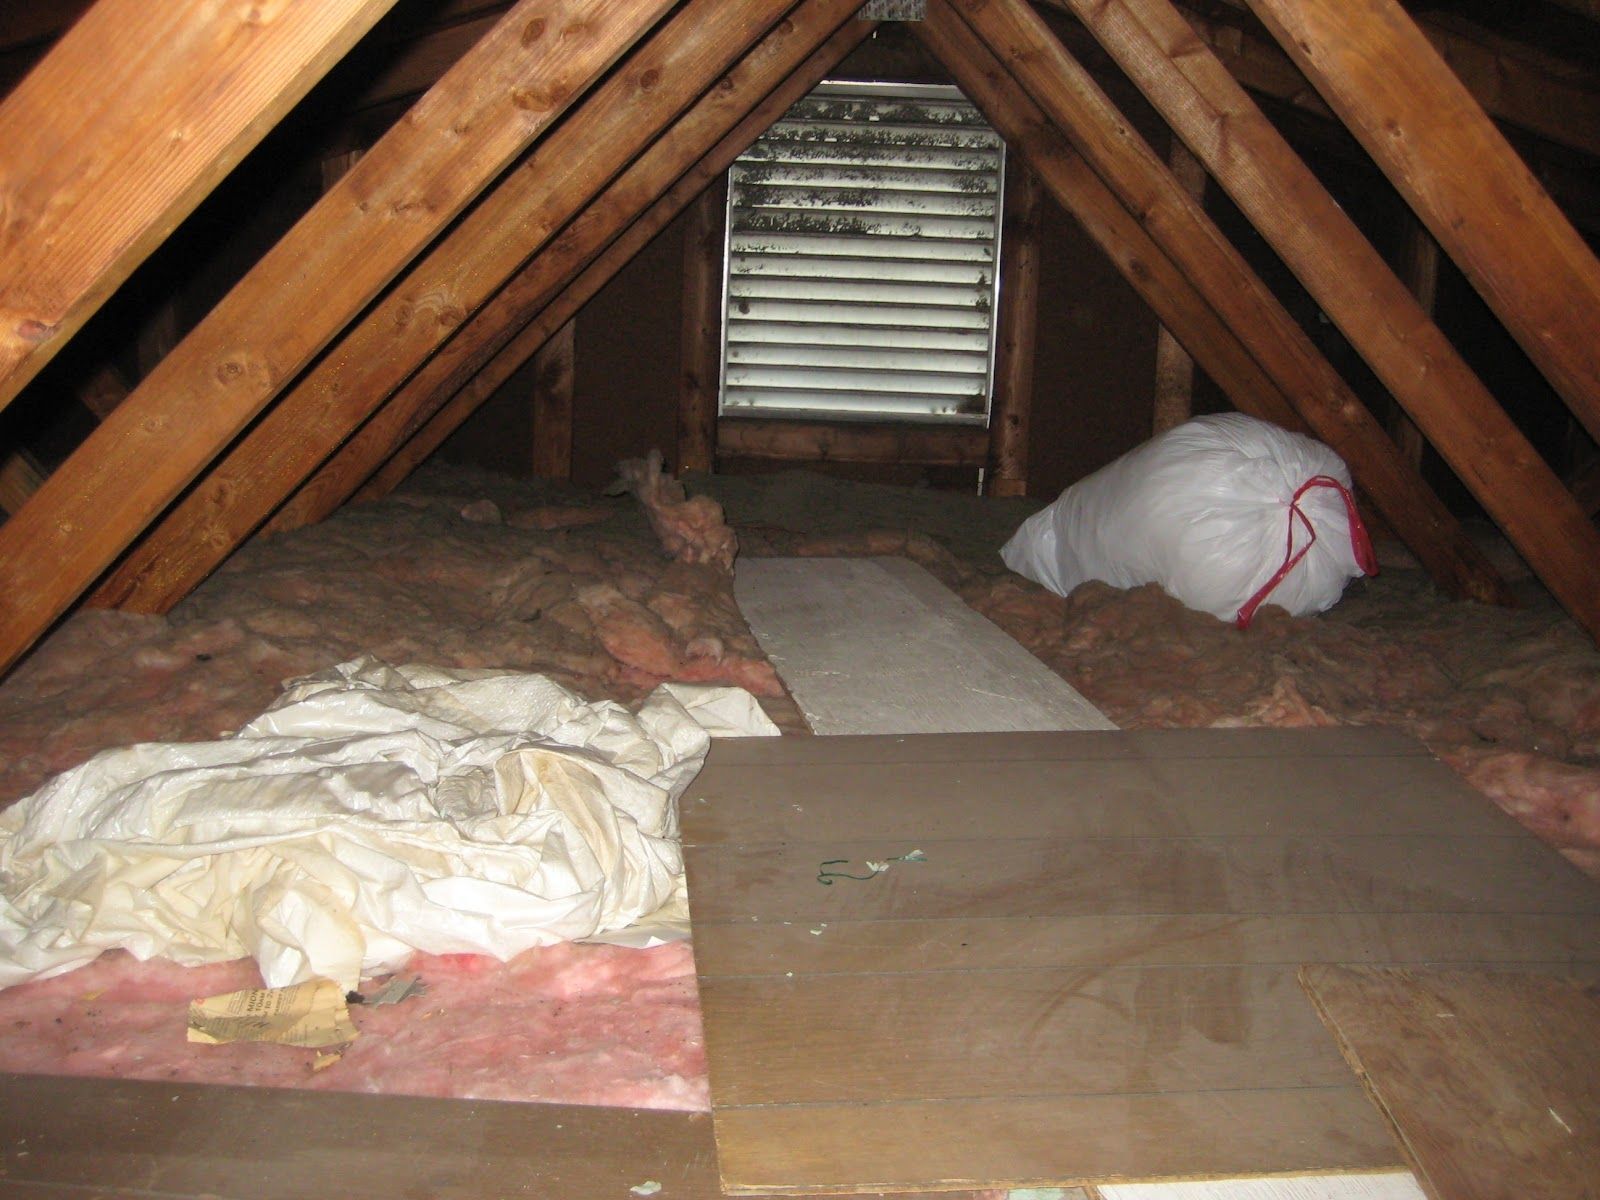
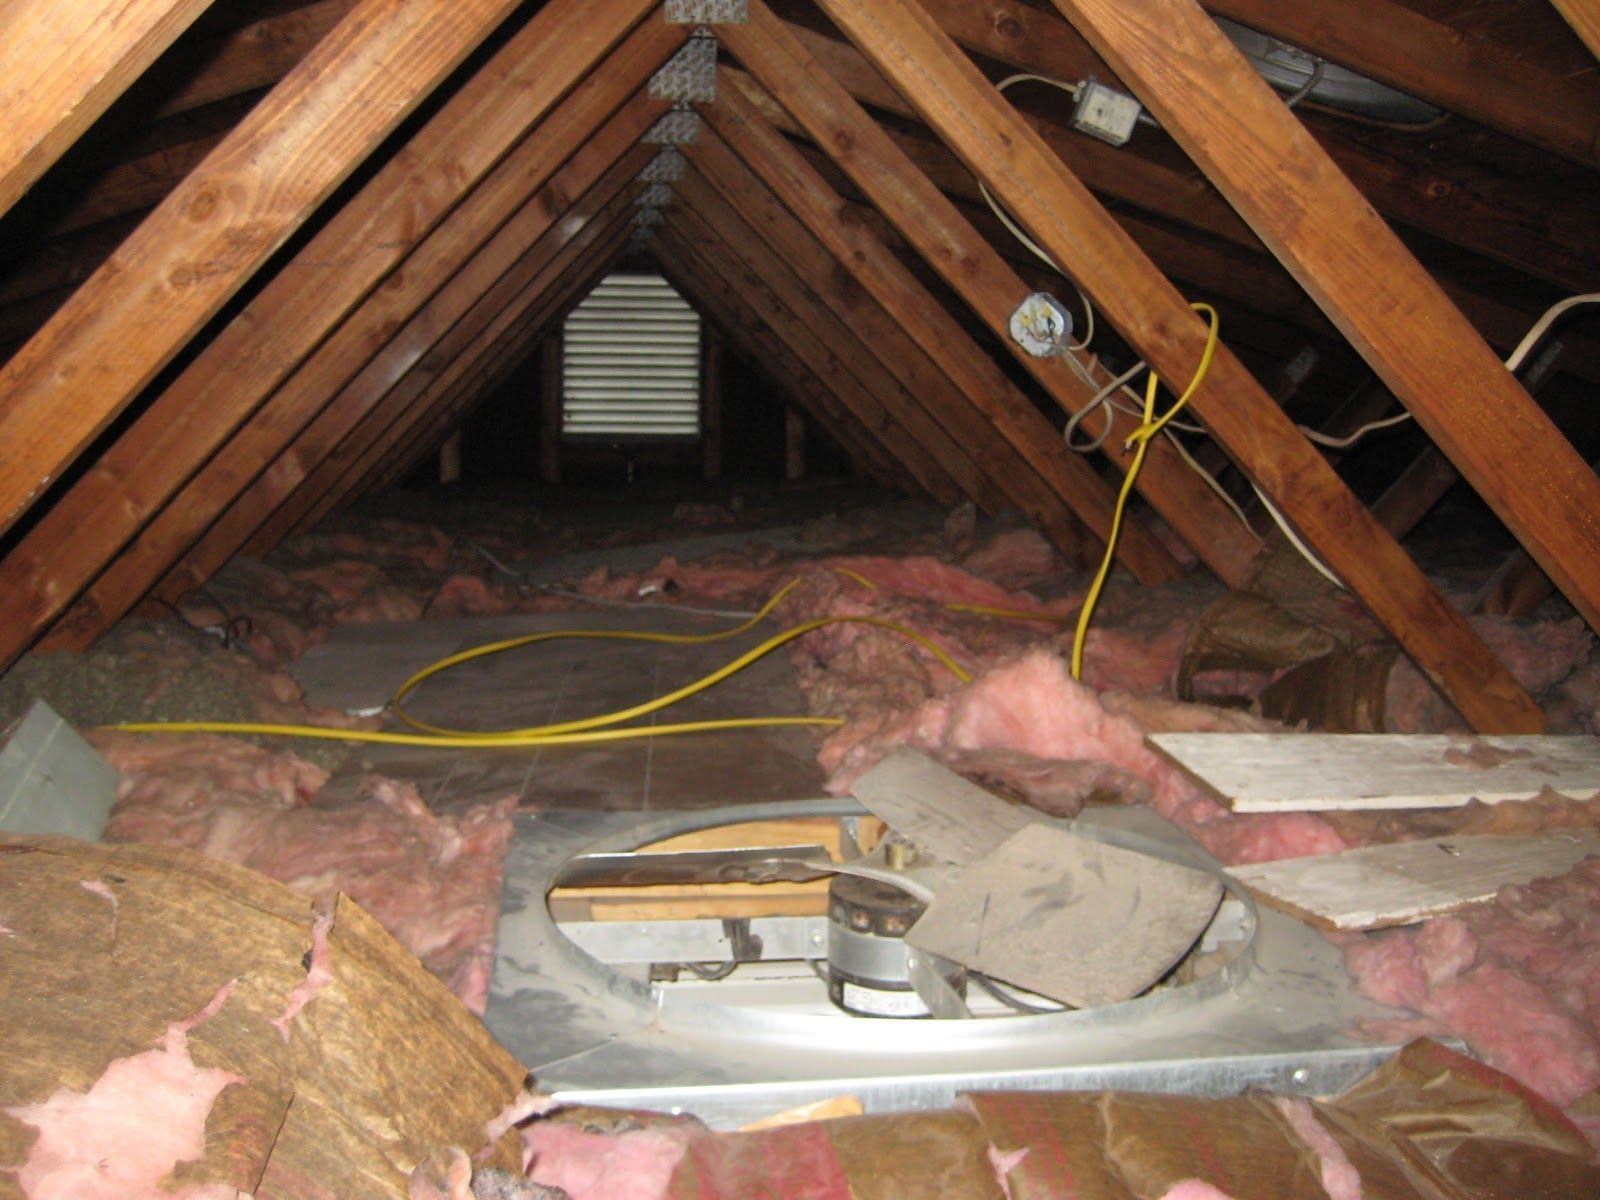
The first step was cleanup. It took a lot longer than I anticipated as there was more junk and garbage than I thought. Insulation works best when it’s fluffy and even so all this stuff had to go. Some “before” shots:
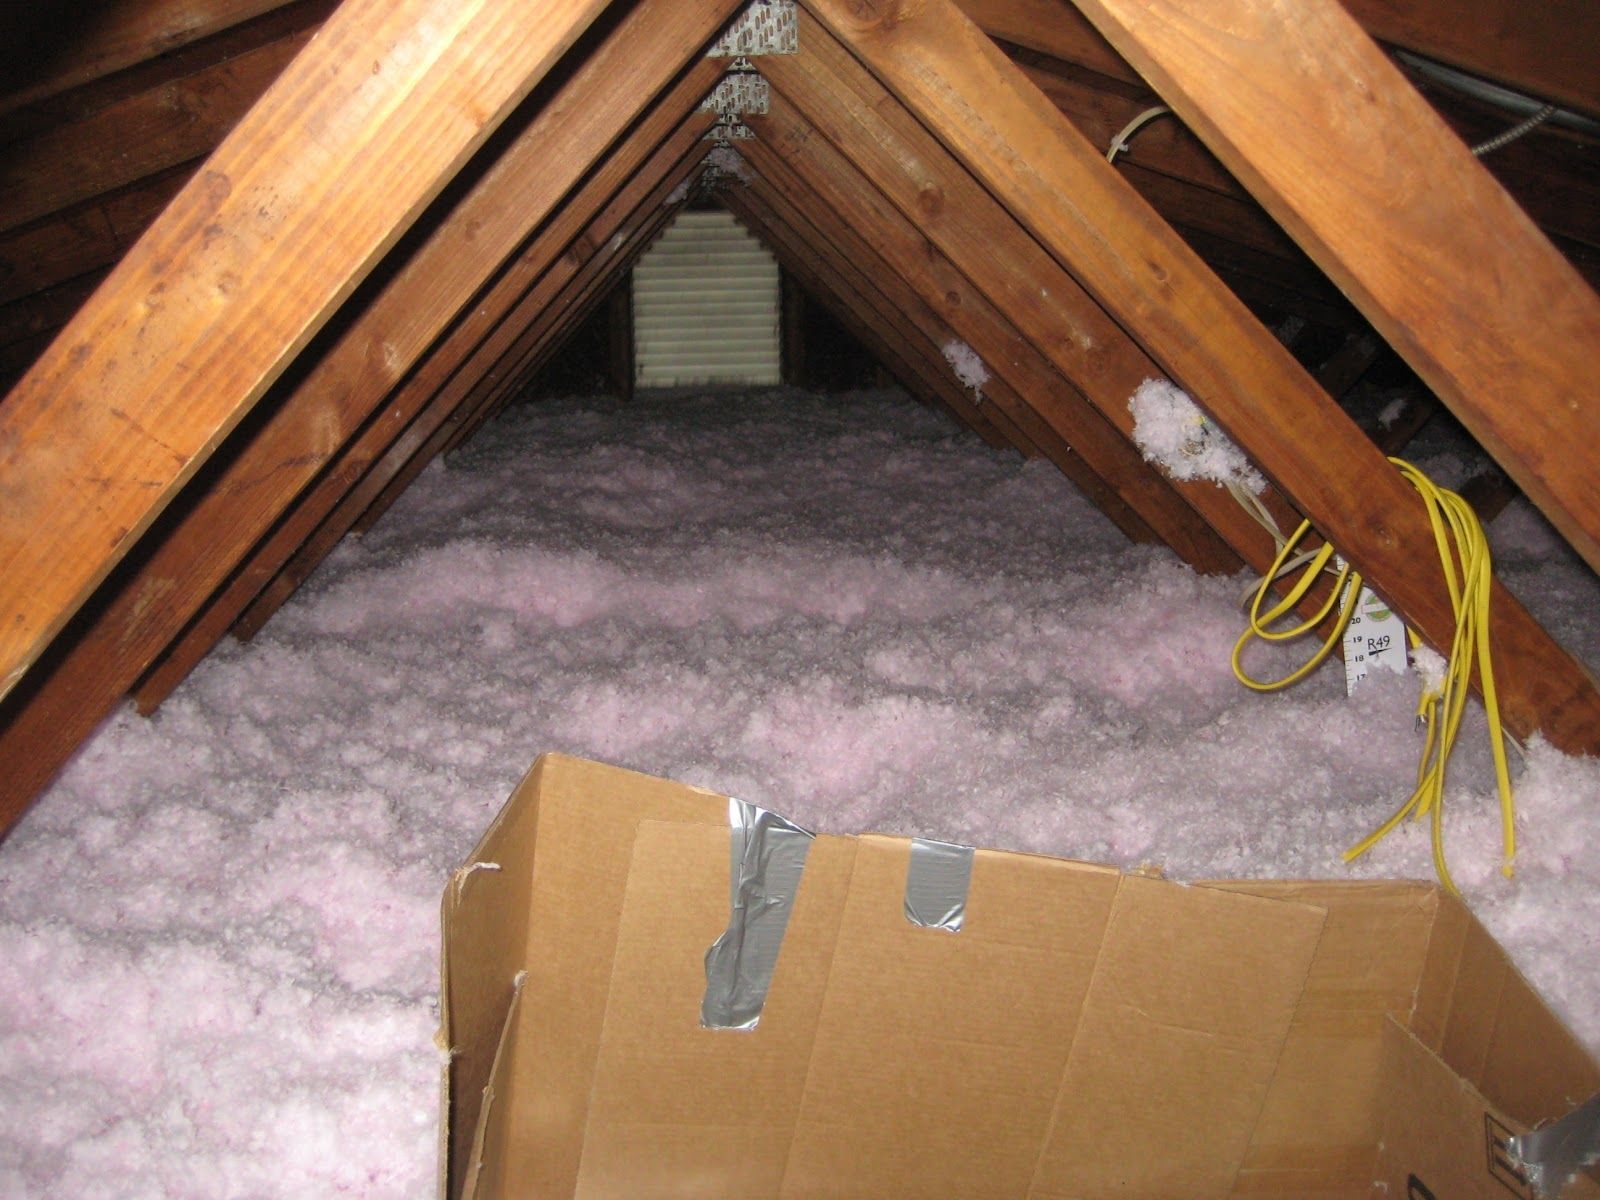
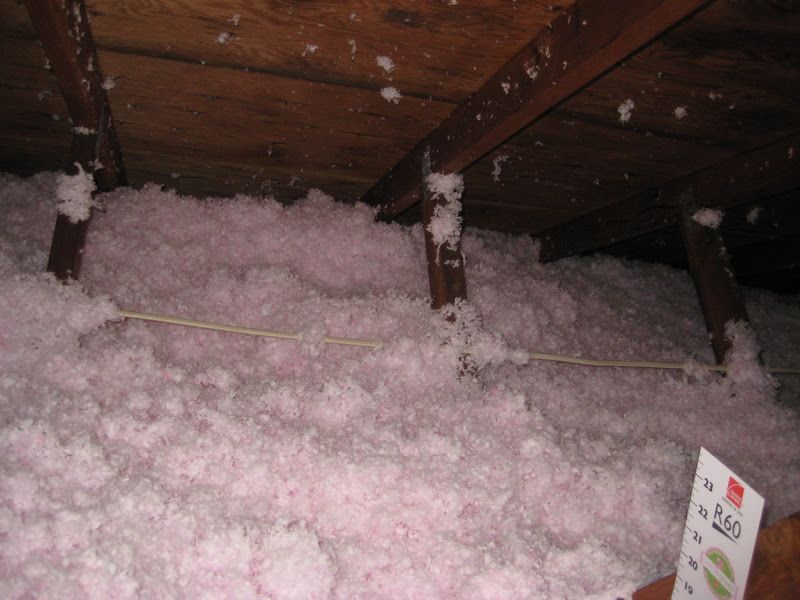
After that came the main event. With my buddy Bryan feeding the blower, I crawled around the attic adding in 6-12 inches of insulation (the base was very uneven), bringing the attic up to R-49. Here are some “after” shots:

Cost detail:

Some lessons learned or things I’ll do differently next time:
- Be more careful with estimates. I bought 16 bags and ultimately only used eight. I think I bought far too much for three reasons. First, I underestimated how much insulation I already had in my attic. Second, I think the charts the vendor supplies might be generous. Finally, I used data for a 1000sf attic but mine is more like 900sf. I easily returned the unused bags but hauling them around was a hassle.
-
- Put a sheet down around the attic access area. I had a lot of debris and attic dust beneath my attic steps. This would have been easier to clean up it I had put a sheet down. The shopvac did a nice job, though. Interestingly, the new insulation really was dust-free as advertised—90% of mess came from the junk I took out of the attic.
-
- Have something to entertain the helper. This job absolutely requires two people (one to feed to the blower, which is outdoors) but I’m told that job is pretty boring.
-
- Pick a cold day or do it earlier in the morning. It was a very mild day but damn it was still hot as hell up there. I was drenched in sweat the entire time. I cannot imagine what it’d have been like on a hot day. Jacket-weather or colder would be ideal since you have to wear long sleeves and pants anyway.
-
- Use more depth markers. I used about eight depth rulers throughout the attic (visible in some pictures above). I should have used 24 or more (they’re free). It would have made the process much easier as I wouldn’t have had to go back and forth so much stressing about an even layer. I’d certainly have done a better job, too.
-
- Collect some large pieces of cardboard in advance. I built little fences around our house fan and access steps with a bunch of chopped up boxes. This would have been much easier and cleaner if I had used larger boxes.
I still have one thing left to do: install the 2” board over the house fan and attic access. Currently these areas have no insulation at all. I plan to put two layers of 2” board over these, with a little insulation in between (hopefully about R-20). I might add a little framing, too, so they can be flipped up easily when the fan or steps are in use.
All told, I burned about 5 hours on the project, including two trips to Lowe’s. The project was more work than I expected but still easy enough (I hadn’t counted on the heat or amount of trash that I had to removed). Saving a mere $15/month (very roughly 10% of our energy bills) would give us an ROI of 12 months. I’m very confident we’ll meet or beat that.
1 comment
GBtG said on 2009-07-29
Yeah, as fascinating a device as the blower is, it loses its novelty fast. Then you’re left staring at the huge stack of insulation wishing it were a huge stack of bubble gum.
Damn, that’d be a lot of gum.
Comments closed