Installing/Upgrading Memory in a Dell Latitude 6520 (aka MOAR GBs!)
I just got a new machine! It’s amazing. Our awesome IT guy got an 8gb memory upgrade, too. It came in while he was on vacation so what was I supposed to do? Let it taunt me like a fool? No, I can do this.
Upgrading the memory in my sweet new laptop turned out to be easy, but I had to just guess how to do it because I couldn’t find any documentation on how exactly I was supposed to do it. Fortunately, it was very easy. Not MacBook easy, but easy enough.
Short and sweet:
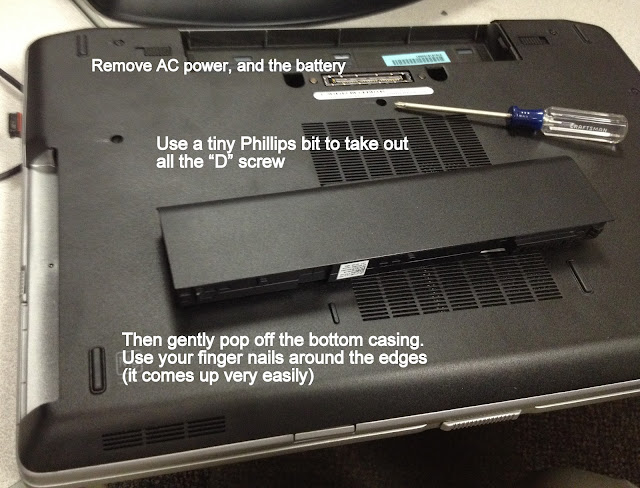
- Disconnect power, remove battery
- Remove all the “D”-labeled Phillips-head screws from the bottom
- Pop off the bottom plastic
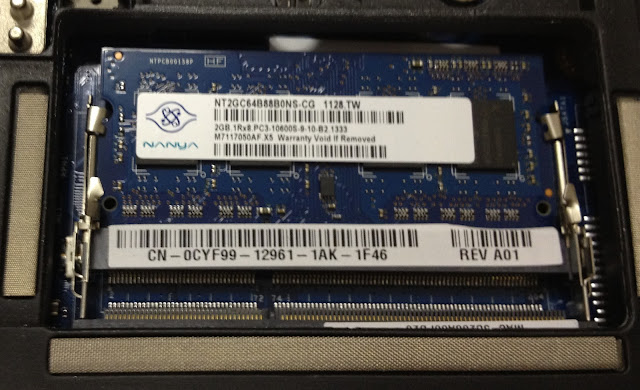
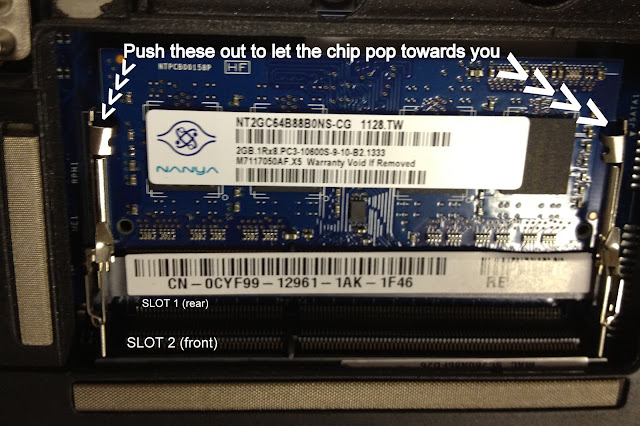
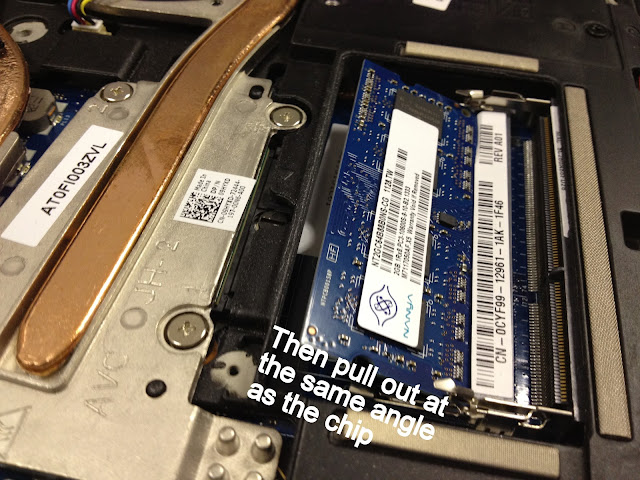
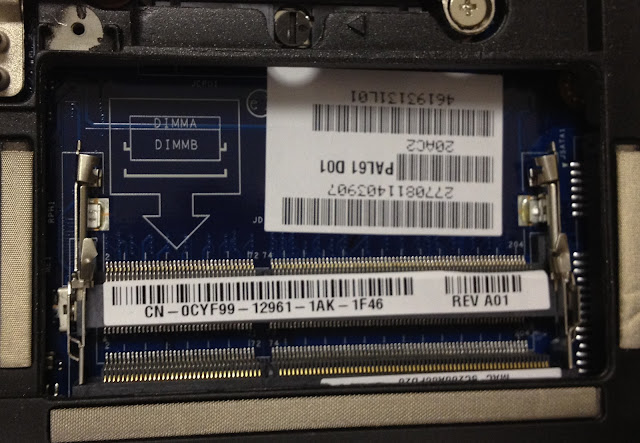
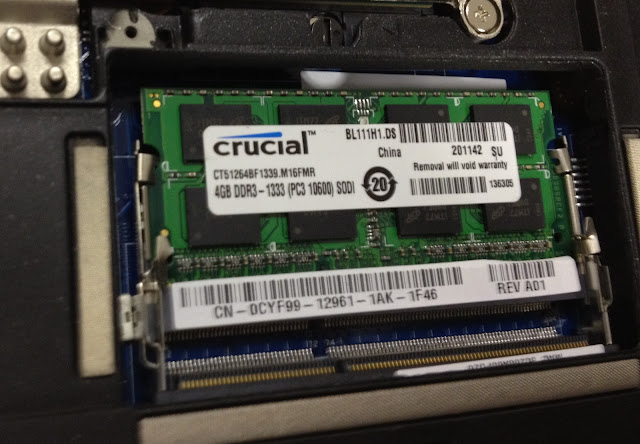
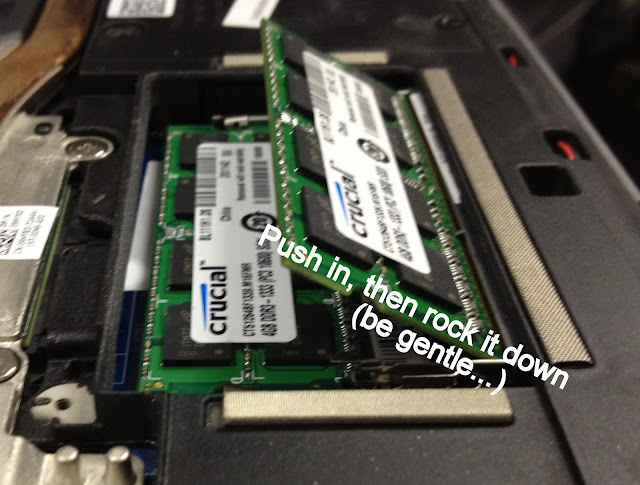
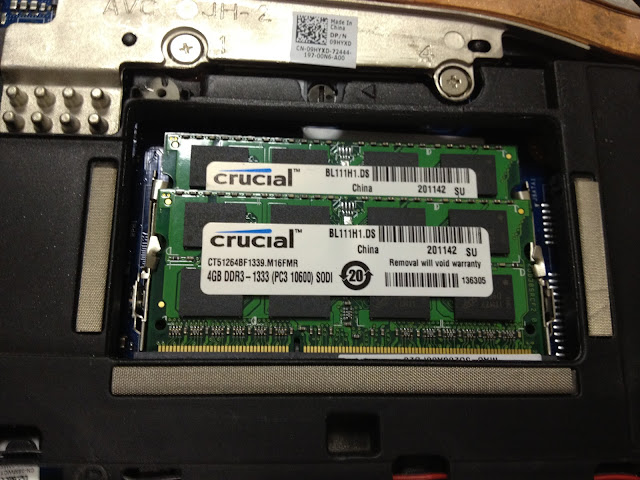
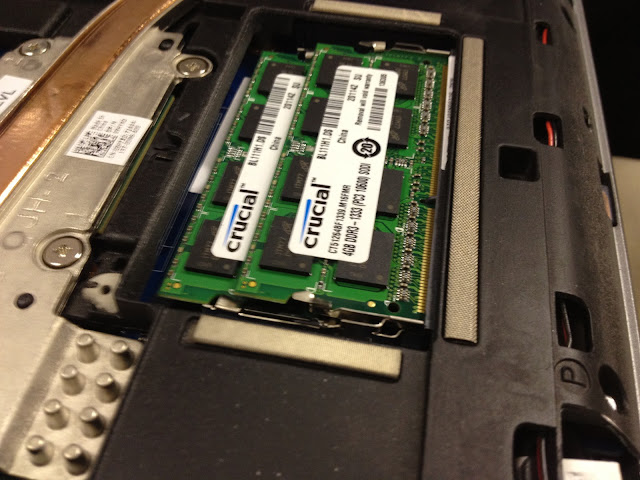
- Install the memory
- Put it all back together
In pictures:
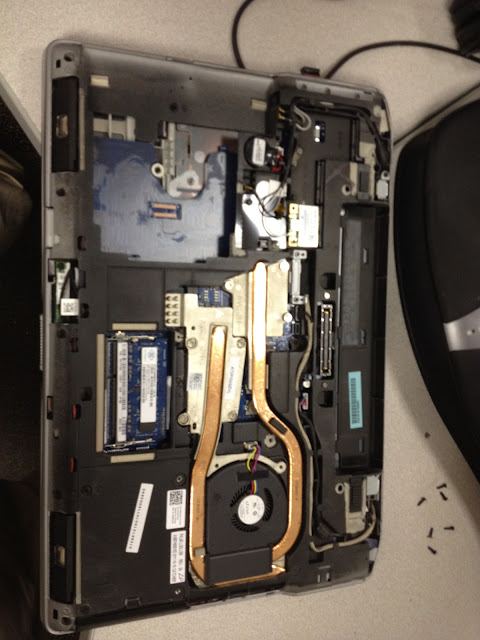
Take out the screws (be mindful of the HD screws because they’re different than the others)
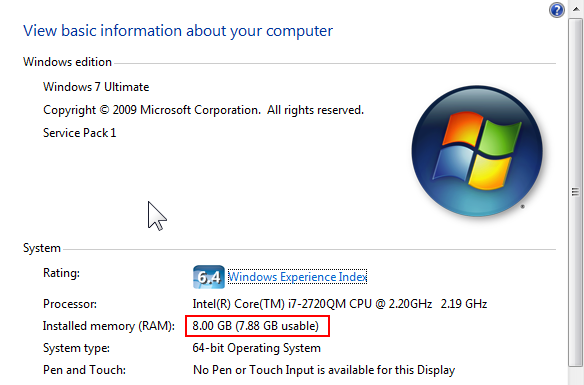
For $60, 8gb seems like a no-brainer upgrade if your laptop supports it. And now, I can finally reap the rewards of choosing to go with Windows 7 x64 two years ago. Yay!